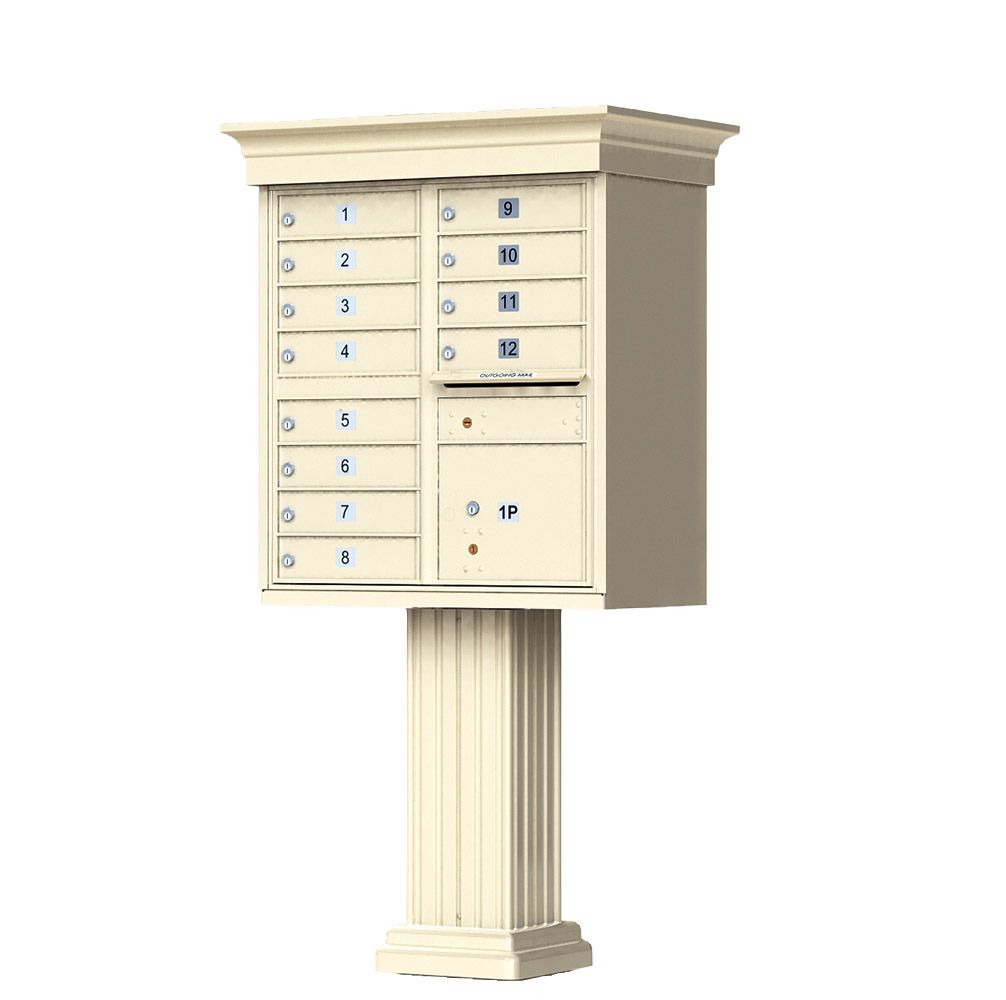
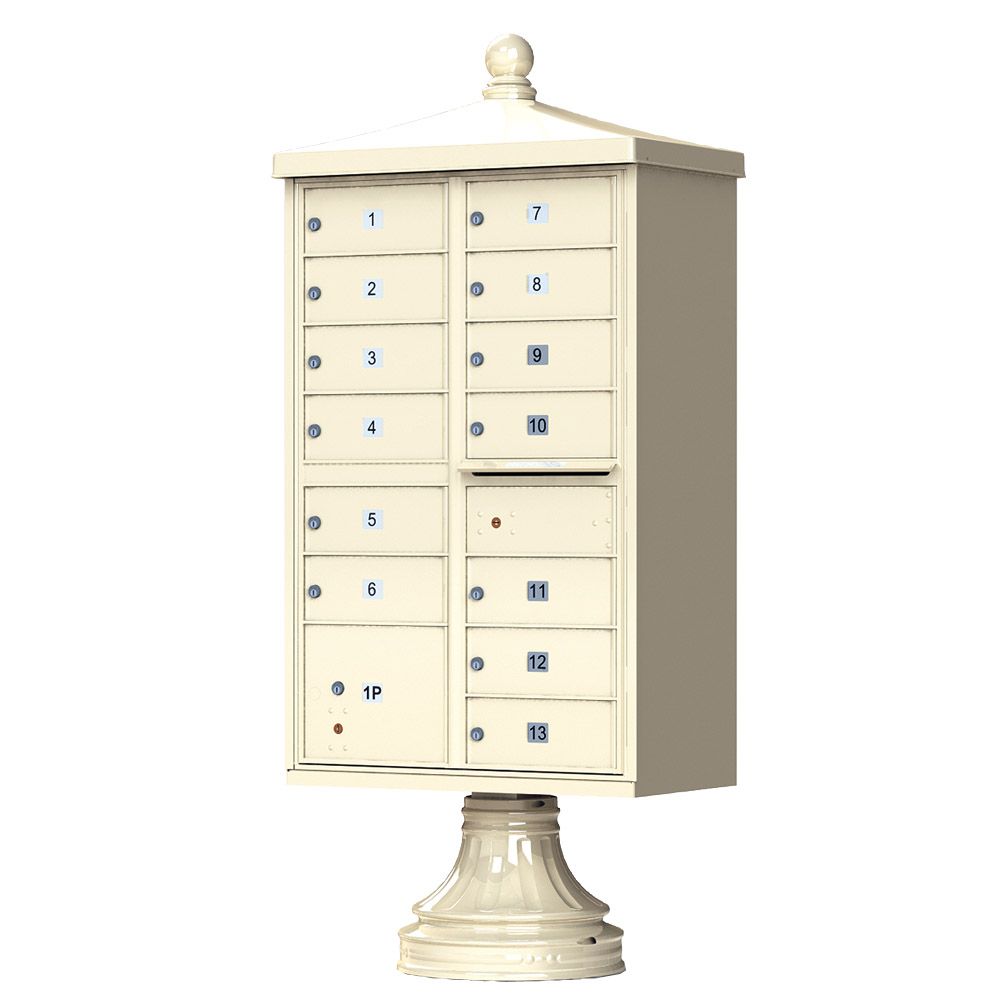
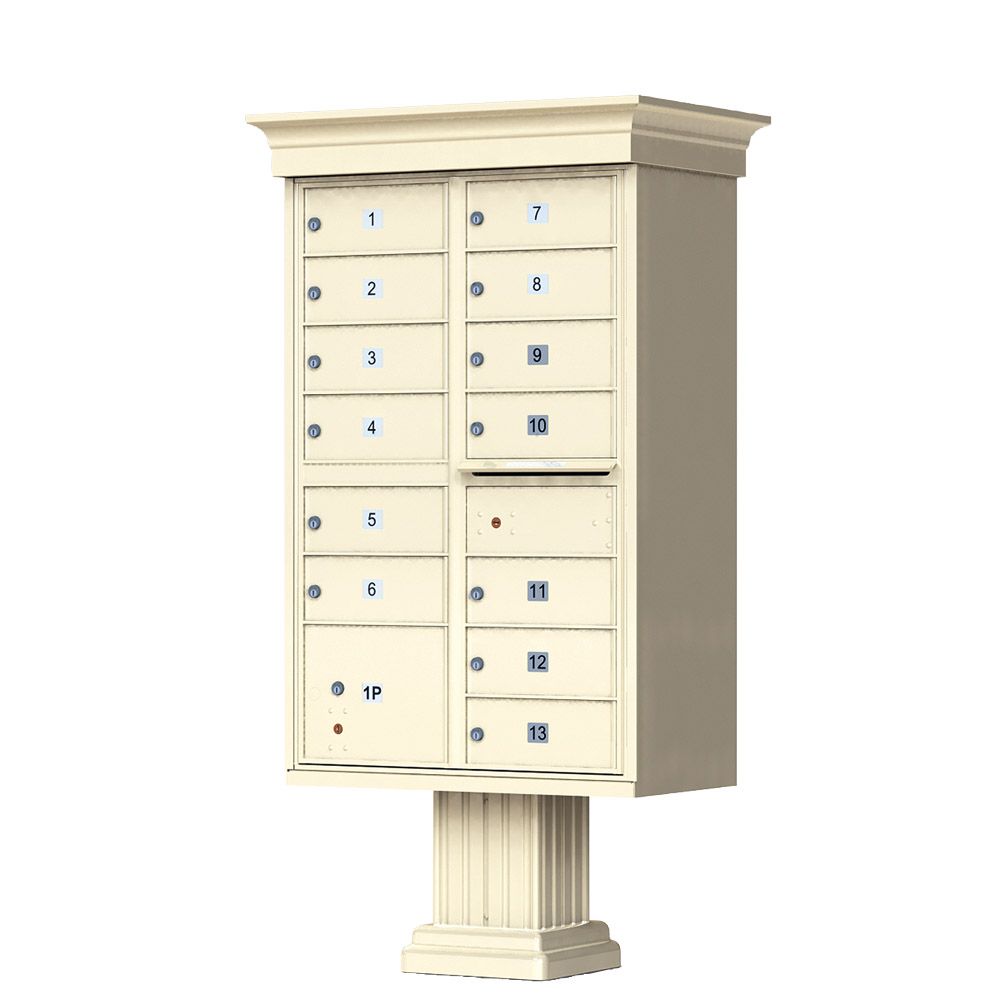
CBU Installation - Essential Steps
Here are the essential steps to install your cluster mailbox:
- Locate the template and gasket inside the CBU box.
- Position the template to the desired location on the concrete pad and secure it with adhesive.
- Drill four 4-inch to 4.5-inch deep holes in the concrete using the template.*
- Clear the debris and align the gasket holes to your newly drilled holes.
- Place the pedestal on the gasket and ensure the pedestal is level.
- Install the four concrete anchors and tighten all the anchors with your wrench.
- Again, check to ensure your pedestal is level.
- With assistance, mount the cluster box unit onto the pedestal, aligning the CBU holes with the pedestal.
- Open the master doors and slide out both bottom shelves.
- Install four bolts from underneath with your 9/16" socket. Use assistance to steady the unit during bolt installation.
- Reinstall the bottom shelves that you removed a moment earlier.
- Lift and disengage the hold-open rods, and then close the master doors.
- Test each of your tenant keys to ensure functionality.
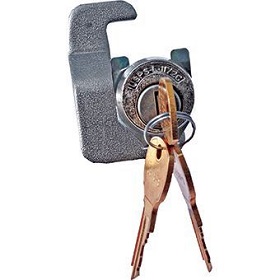
- Contact your local postmaster to install the USPS proprietary Arrow lock.
*Note: The exact depth you drill may vary depending on whether Florence Corporation or Salsbury Industries manufacture your cluster mailbox.
Installation Overview:
As you secure a new cluster mailbox for your property, the installation needn't be daunting. This comprehensive guide breaks down the installation process into four distinct steps:
- Securing the concrete pad.
- Setting up and installing the pedestal.
- Mounting the cluster box to the pedestal.
- Important post-installation actions, like contacting the USPS.
In this guide, we'll reference all the necessary tools and conform to USPS requirements, guaranteeing a successful installation. Plus, our accompanying installation video will guide you visually from the outset to completion, making the process even easier to grasp.
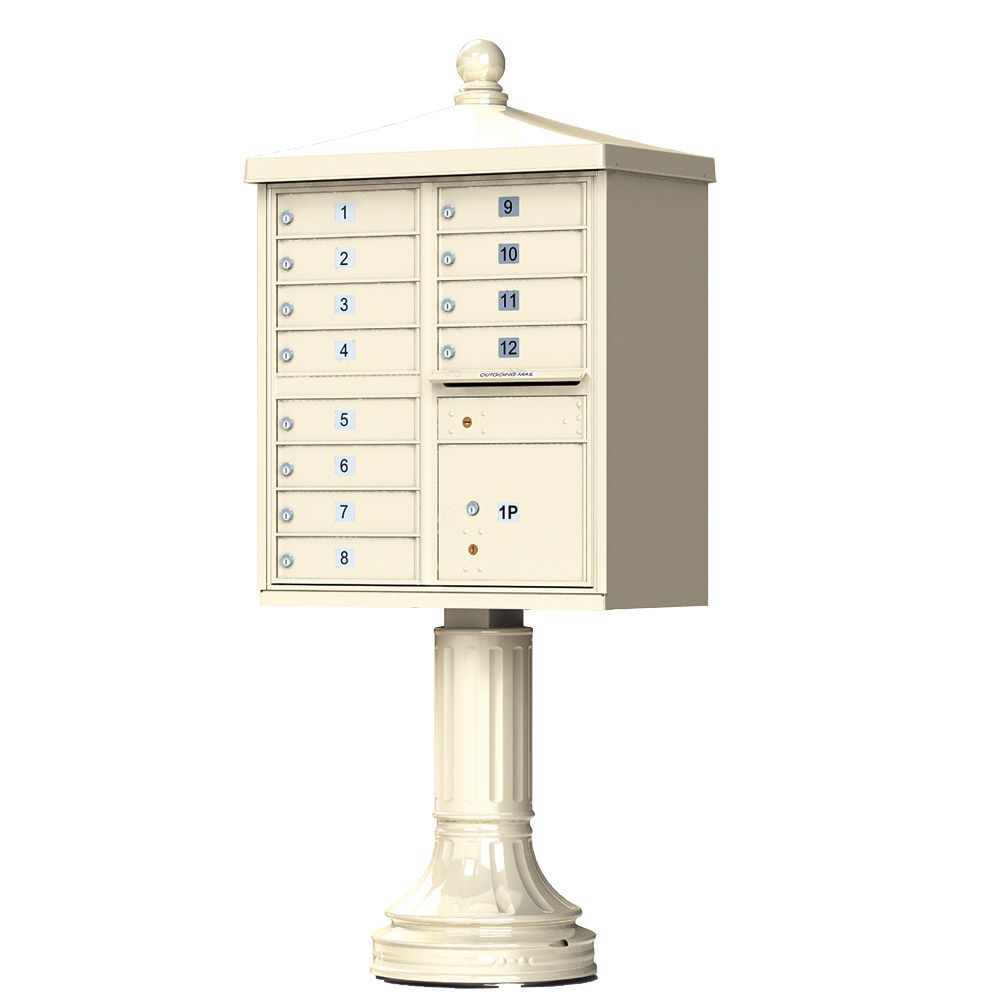
Budget Mailboxes cluster mailboxes stand out for their aesthetic appeal, durability, and ease of installation. The process is impressively simple, requiring no specialized skills. This project is manageable and can be accomplished efficiently with an assistant to lend a hand.
Items required for CBU installation (not included)
- 5/8” and 9/16” wrench.
- A level and hammer.
- Hammer drill with 1/2" concrete drill bit.
- Four 1/2" diameter 5" long concrete anchors.
Step 1 - The Concrete Pad
The first step is to pour (or have already poured) a concrete pad that meets US Postal specifications. For more detailed information on the concrete pad specifications, please view the concrete foundation spec sheet (opens in a PDF).
Step 2 - Installing the CBU Pedestal
When you open up the carton for the pedestal, you also have a gasket and a template. Follow the steps below to install your CBU pedestal into the concrete pad:
- Locate the center of the pad, put the mounting template down, and then start drilling your holes (using the template). Note: Anchor bolts should be installed in the concrete pad itself. For more information, see here.
- Drill down at least five and three-quarters with a half-inch drill bit.*
- Make sure the surface is clear of rocks and debris.
- Once the area is clean, place the gasket down on the concrete (this serves as a barrier between the cement and the pedestal).
- Now place the pedestal on top of the gasket. If it's not level, add washers to the uneven side.
- Once the pedestal is level, you can place your anchors five and a half inches long by one-half inches wide.**
- Place the anchors into the holes and torque the bolts down until they're tight using a socket wrench (you can also use an impact wrench to tighten the bolts).
- Once you've tightened the bolts, double-check that the pedestal is level.
* The installer drills down 4-1/2 inches in the tutorial video.
** In the same tutorial video, the installer uses 4-1/4 inches long anchors. Our anchor bolts are 5-1/2 inches long, according to the manufacturer's minimum requirements.
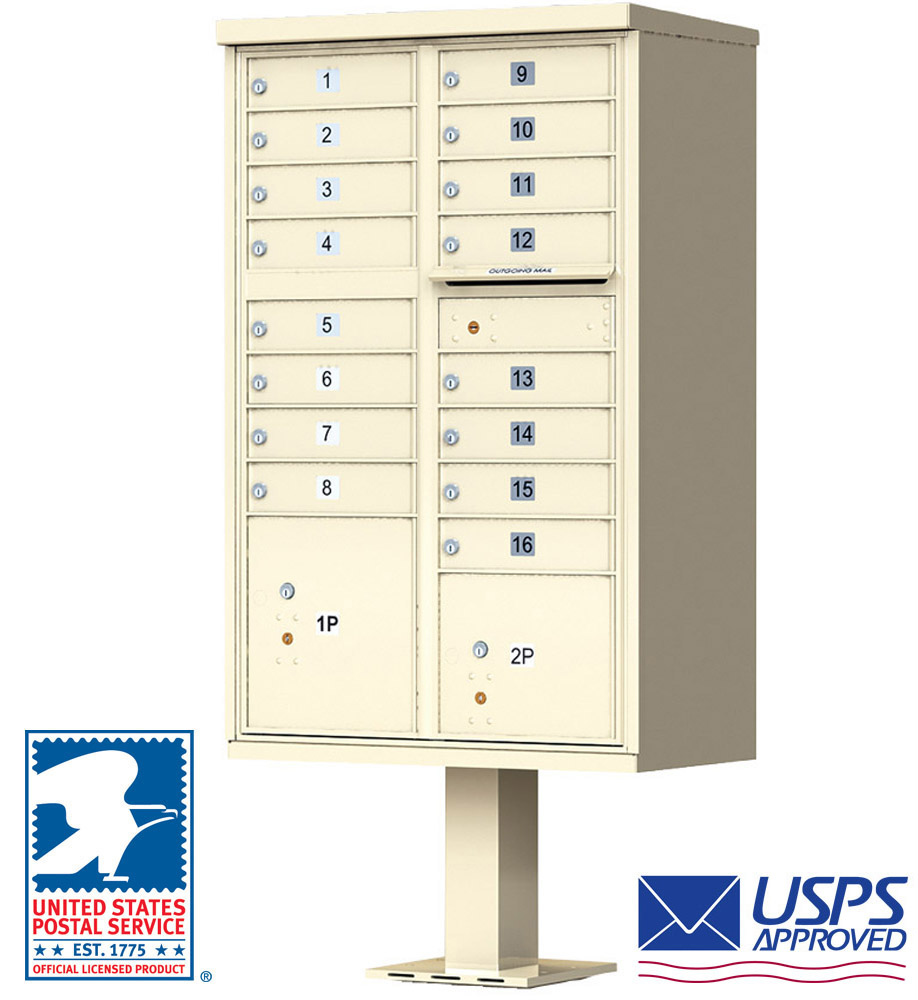
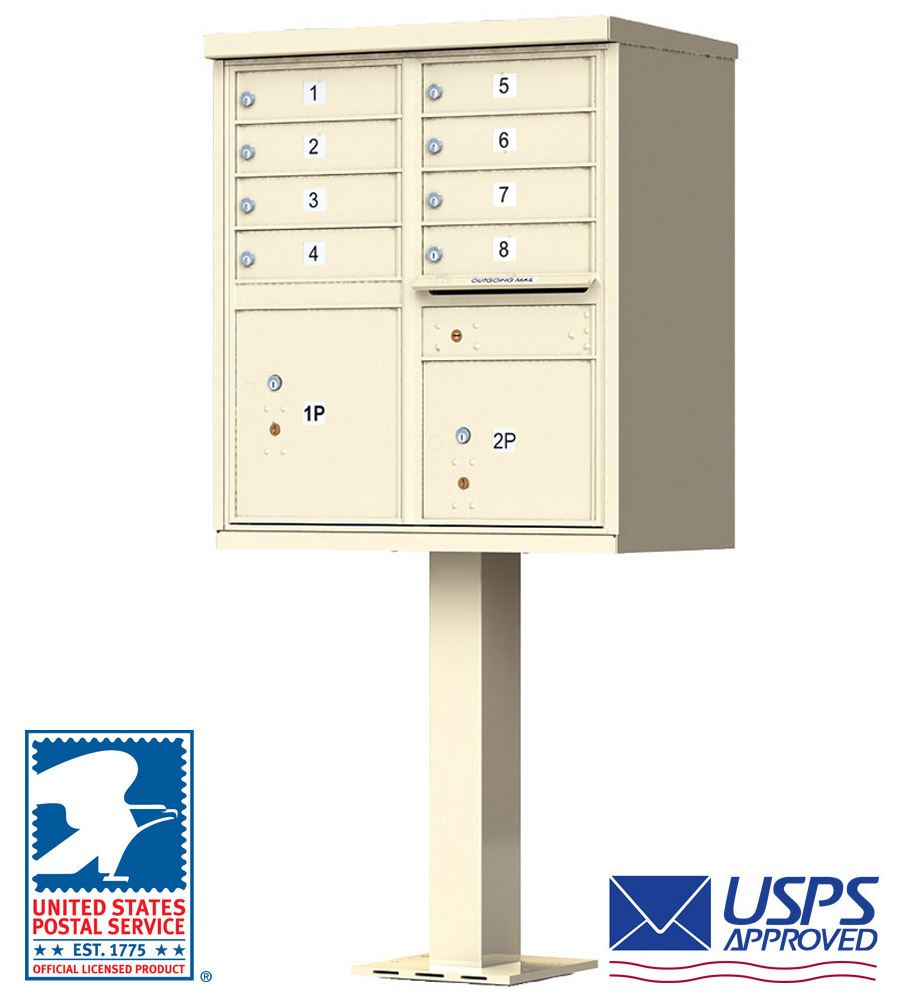
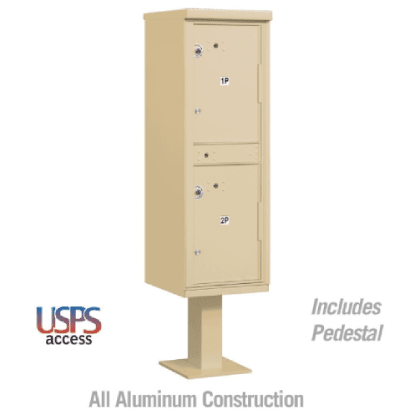
Step 3 - Installing the Cluster Box on the Pedestal
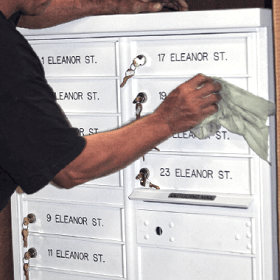
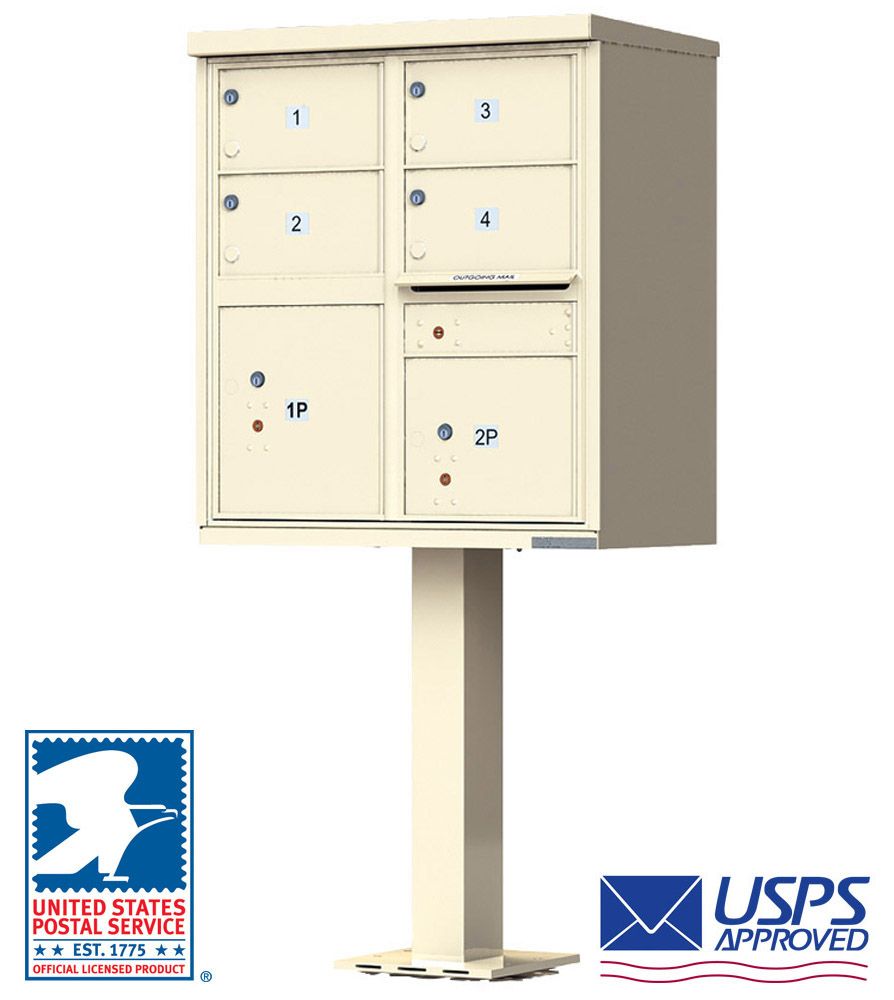
Upon receiving the boxes, open them up to ensure the engraving is correct (if you selected engraving) and that there's no damage. Two people should place the box on the pedestal stand -- this way, one person can hold the box while the other person fastens it to the pedestal.
To fasten the box:
- Access plates will be in the parcel locker(s) inside the box. Go ahead and slide those out.
- This will allow you to access the hardware to secure the box to the pedestal.
- Place the washer on the bolt, followed by the nut. Do this to all four top bolts.
- Ratchet the nuts with a nine-sixteenths (9/16) socket wrench.
- Once these bolts are tight, return the access plates you removed from the parcel locker(s) in step one to cover the hardware.
Once complete, close up the box. Now, you will need to contact the post office to send someone to install their arrow locks for USPS access. The postman will install one arrow lock in the outgoing mail slot and one in each parcel locker.
Step 4 - After Installation: USPS Arrow Locks & Testing Compartment Keys
- Ensure you've contacted the local postmaster to come out to the unit and install their proprietary Arrow lock for accessing the master door.
- After installing the CBU, check the keys included with the unit to ensure they all work properly. (Not sure where to find your keys? See this blog article.)
- Also another good habit is to take the yellow Important Notice sticker on the outgoing mail door and put it over the arrow lock hole so that nobody tampers with the unit.
Conclusion - You're All Set
As you can see, it's a basic process that takes some simple tools and a little time. We also strongly recommend you view and/or download the complete 1570 Cluster Box Instruction Manual.
If you have any other questions about installing your pedestal cluster mailbox, please call us at (866) 707-0008.
The official cluster mailbox installation instructions can be found here.
Download PDF for a printable version of the same content.